In this article, we will explain what heat transfer printing is, its advantages, the necessary equipment and materials, and how the process works. By the end of this article, you will have a more comprehensive understanding of heat transfer printing.
Introduction to heat transfer printing
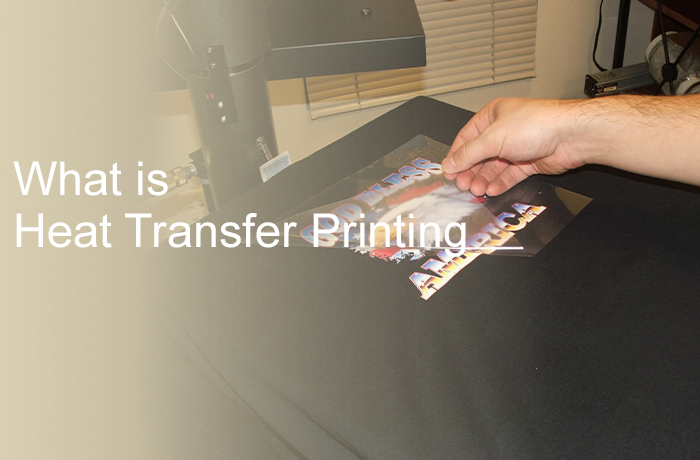
Heat transfer printing is a method of transferring a pattern onto a substrate using heat and pressure. The process involves using a printer to print the pattern onto special transfer paper, usually with specific inks like sublimation or pigment ink.
In the print-on-demand industry, the most common heat transfer printing methods are sublimation printing and DTF transfer.
Advantages of heat transfer printing?

1. Flexibility
Heat transfer is applicable to a wide range of substrates, including fabric, metal, paper, and plastic. As a result, it is a versatile printing technology that may be employed in a wide range of sectors.
2. Quick turnaround
Heat transfer printing is a reasonably quick manufacturing method. Once a design is complete, printing may be completed in minutes, making it ideal for meeting tight deadlines or printing on demand.
3. Cost-effective
Heat transfer printing, unlike other printing technologies such as screen printing, does not require a substantial upfront investment in equipment or consumables, making it the first choice for early-stage businesses.
4. Durability
Heat transfer prints won’t crack, fade, or peel over time. The prints will withstand frequent washing or heavy use and retain their vibrant colors.
Different types of heat transfer
1. Sublimation
Sublimation printing works by vaporizing solid ink, which blends into the substrate rather than sitting on the surface. It’s ideal for polyester, polymer-coated items, or anything made of 100% polyester. Sublimation prints are known for their vivid colors and durability.
2. DTF (direct-to-film)
Often confused with DTG printing, DTF is more complex than sublimation printing. It involves evenly applying adhesive to the design on the transfer film and using a heat press to apply pressure and heat to the print on the fabric.
Related article: DTF vs DTG
3. Vinyl heat transfers
This method is becoming less common, and many people are unaware of it. It involves cutting an image from a colored vinyl sheet and using heat and pressure to transfer the image to the fabric.
4. Laser transfers
This method uses toner instead of ink. The printed image on the transfer paper is placed on the target surface and heated using a heat press or iron. The heat causes the toner to bond with the surface, permanently transferring the image.
What equipment and materials are needed for heat transfer printing?
- Computer
Use graphic design software on a computer to create the design and connect it to a printer.
- Printer
Use a specialized printer to print the design onto transfer paper.
- Ink or Toner
Specific to the type of heat transfer printer being used, typically sublimation ink or laser toner.
- Heat transfer paper
Special paper used to hold the ink or toner that will be transferred to the fabric.
- Heat press
The main device that applies heat and pressure to transfer the design to the material.
- Weeding tool
Used to remove excess material from the transfer paper after cutting.
- Heat tape
Used to secure the transfer paper to the substrate to prevent the print from shifting, though it’s not always necessary.
- Heat sheet
Placed on the platform of the heat press to prevent heat conduction and damage to the heat press. It’s usually made of rubber and often included as a gift when purchasing a heat press.
- Substrate
The material onto which the design is transferred, such as a T-shirt, mug, or other item.
How does heat transfer printing work?
Heat transfer printing is a process that uses heat and pressure to transfer an image or pattern from special transfer paper to a surface, usually fabric. Here’s how it works:

1. Create a design
First, design your graphic using software like Photoshop or Canva. Then, print it onto heat transfer paper using a special printer. Different types of heat transfers require different transfer papers. The design is printed in reverse (mirrored) so that it appears correctly when transferred.
2. Cut the design
Since the entire design will be printed on the heat transfer paper, there might be multiple designs on one sheet. You’ll need to cut out and separate the desired design using scissors or other cutting tools.
3. Heat press application
Preheat the heat press in advance. If the temperature is too high, it can damage the substrate, while too low a temperature may result in a less vibrant print. The time and temperature needed vary depending on the substrate and the type of heat press.
4. Heat transfer process
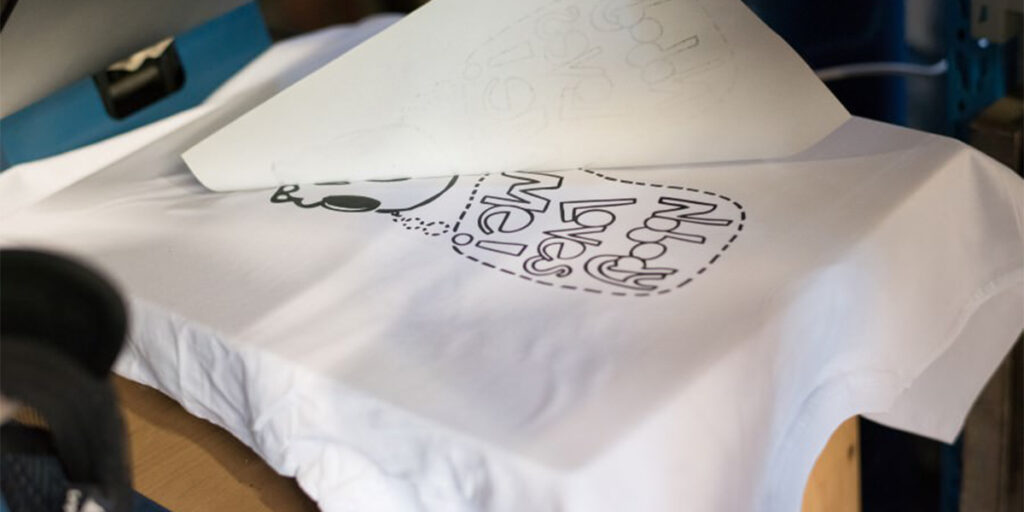
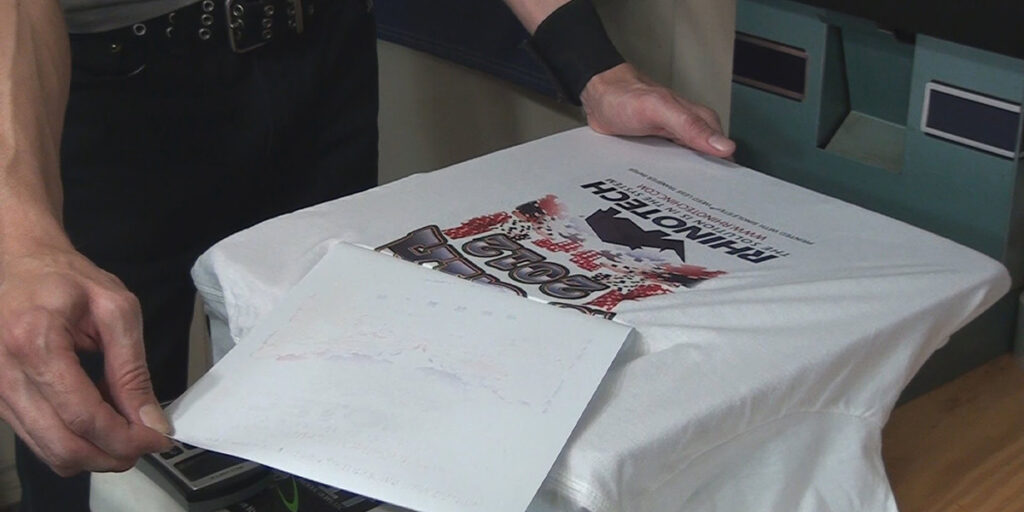
Once the heat press reaches the correct temperature, place the substrate on it, followed by the transfer paper with the design facing down. Use the heat press to apply pressure and heat, making sure to follow the recommended time and temperature to ensure the ink fully integrates with the substrate.
Some heat presses allow you to set a countdown timer, and they’ll sound an alarm when the time is up.
5. Cooling and peeling
After the transfer is complete, let the substrate cool slightly, then carefully peel off the transfer paper, leaving the pattern on the fabric. It’s advisable to wear gloves while waiting for it to cool, especially when working with substrates that conduct heat well, like metal products and ceramic ornaments.
Troubleshooting common issues in heat transfer printing
Inaccurate printing color: This is often caused by incorrect printer settings or using low-quality inks. Make sure you’re using the correct color profile on your printer. Test different transfer materials to achieve the desired color vibrancy and accuracy.
Uneven printing color: During the heat transfer printing process, the printed color may be uneven due to inconsistent pressure, uneven temperature distribution, or insufficient transfer time. These issues can cause some areas to receive more heat or pressure than others, resulting in changes in color intensity.
To achieve uniform printed color, ensure the press is properly calibrated, the transfer paper is properly aligned, and the temperature and pressure settings are consistent across the surface.
Wrinkled or misaligned pattern: During the heat transfer printing process, the pattern may wrinkle or become misaligned due to an uneven substrate and improper transfer paper alignment. Ensuring that the substrate is flat and the transfer position is accurate before printing can help prevent these problems.
Damaged substrate: The substrate may be damaged during the heat transfer printing process if the temperature is too high, the pressure is too strong, or the transfer time is too long. These factors can cause the material to burn, warp, or degrade. Using the correct temperature, pressure, and time settings for the specific substrate can help avoid damage.
Conclusion
Heat transfer printing is a versatile and user-friendly method for businesses and individuals to create vibrant, high-quality designs on various materials. Whether you’re a small business owner looking to expand your product line or a DIY enthusiast eager to customize personal items, heat transfer printing offers a cost-effective solution with endless creative possibilities.
By the end of this article, you’ll understand the basics of heat transfer printing, enabling you to make an informed decision to embrace the world of heat transfer printing and start bringing your unique designs to life with ease and precision.


0 Comments