How to Design Products
1. Product
View all product attribute information. By default, all attributes are selected. You can choose specific attributes to sync to the store by deselecting the ones you don’t need.

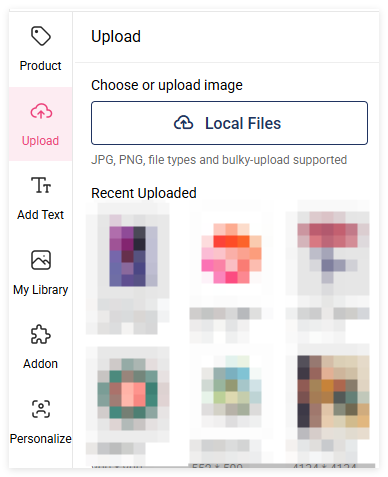
2. Upload
Select a JPG or PNG image from your device. Your recently used images will be shown here. Hover over an image to delete it. Note that deleting an image here will also remove it from your design library.
When you upload or select a design, the image will appear in the design area. The left-hand operation panel will display editing options for the image layer. Select the image layer to flip, scale proportionally, or scale one side.
3. Text
Click “Add Text” to create a text box in the design area. Select the text layer to edit the content.
4. My library
All your designs are stored here. To quickly find a specific design, use the search bar or tags to categorize your images.
5. Addon
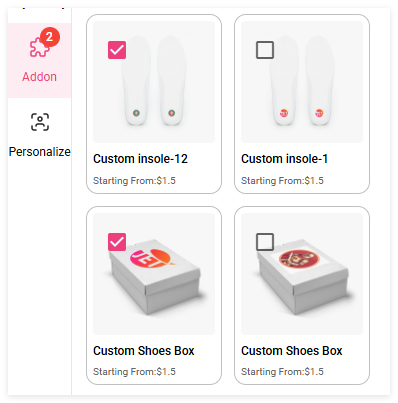
All your branding options are displayed here. These cannot be designed directly in the mockup generator. You must first create your branding designs on the branding page, then select them here.
If you’ve designed a branding option but can’t select it in the mockup generator, it means the product doesn’t yet support that feature. Please contact our customer service team to enable this function for your product.
6. Personalization
This feature is currently exclusive to Shopify. Refer to the tutorial for detailed instructions.
Now that you’re familiar with the left-hand menu, let’s explore the remaining features.
7. Functions

Undo: Reverse the last action.
Redo: Restore an undone action.
Background color: Add color to the design area or sample colors from your design.
Copy: Duplicate the selected layer.
Delete: Remove the selected layer.
Image quality: Choose Low, Medium, or High. High quality won’t display in the preview but ensures better print results. If your design isn’t blurry, our production team will optimize it.

Preview: The “Preview” button at the top allows you to open or hide the real-time preview.
To preview your design from various angles, click the enlarge icon in the top-right corner of the real-time preview image.
Layers: Click to open or hide your layers. Individual layers can be hidden, deleted, or dragged to rearrange their order.
- The image layer displays the printing quality and the name of the design.
- The text layer shows the font and the currently entered text.
The operation panel for all layers is hidden by default and only appears when a layer is selected.
Zoom In/Out: Use the zoom controls in the lower-left corner of the design area to adjust the view and ensure your design is accurately aligned.
8. Hidden tips
Addon: When you select branding options, the number of selected options will be displayed on the Addon icon.
Multi-layer movement: Hold the left mouse button and drag to select multiple layers for easy movement.
Layer guides: Red guides appear when placing two layers to help with alignment.
Reverse flip: Click and drag any part of a layer to mirror or flip it without using the operation panel.
Bleeding line: Keep critical designs inside the green line. Non-essential elements can extend beyond it, but they may be trimmed during production.
For professional sellers, download the PSD template from the product details page. Design in Photoshop, export as a JPG or PNG, and upload it to the prototype generator for a polished product without further adjustments.
0 Comments