How to Sell on Shopify
1. Create a Shopify store
Creating a Shopify store is always easy. Just go to shopify.com and follow their step-by-step instructions to start your own store.
2. Create a free account
Visit the JetPrint register page, enter your email and name, and activate your account. An activation email will be sent to your email, and this process can often be completed within a minute.
P.S.
We offer a 48-hour trial period. After 48 hours, you must activate the email before you can use it. We strongly recommend that you activate the email immediately to avoid forgetting it.
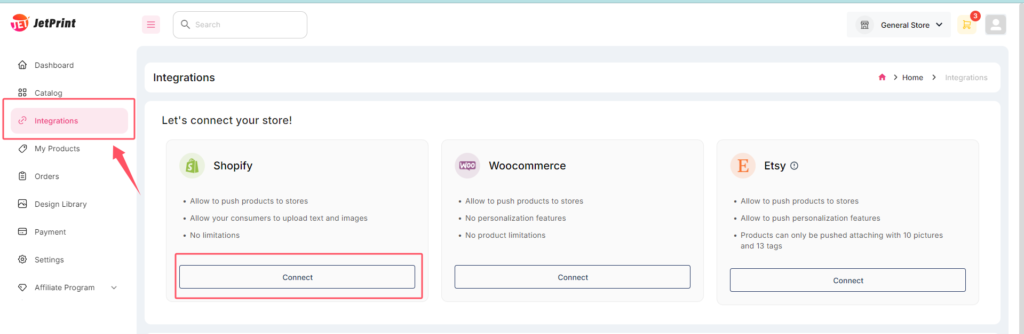
3. Connect with JetPrint
On the Integration page, find the Shopify option and click “Connect.” This will redirect you to the Shopify App Store, where you’ll need to click “Install.” This will allow you to easily publish JetPrint products to your Shopify store.

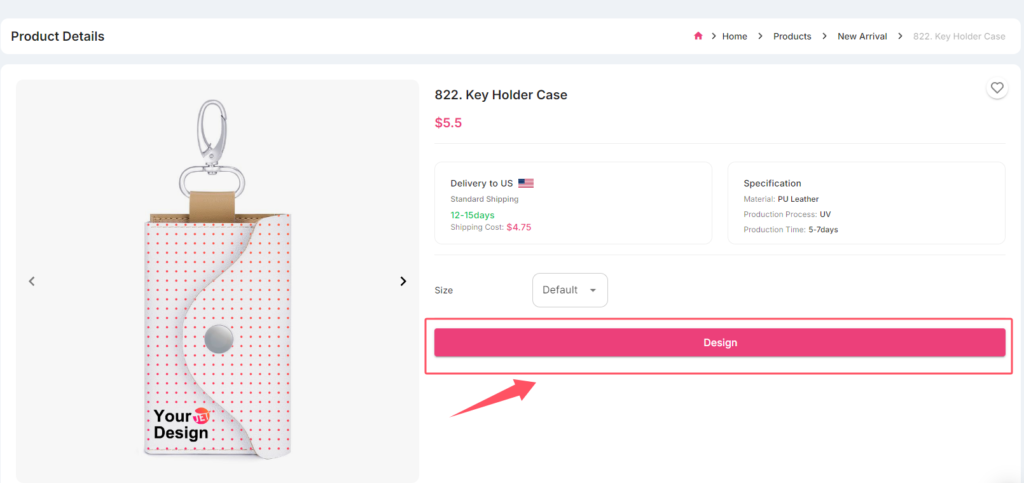
4. Design your products
Select the product you’re interested in on the product page, then click Design.
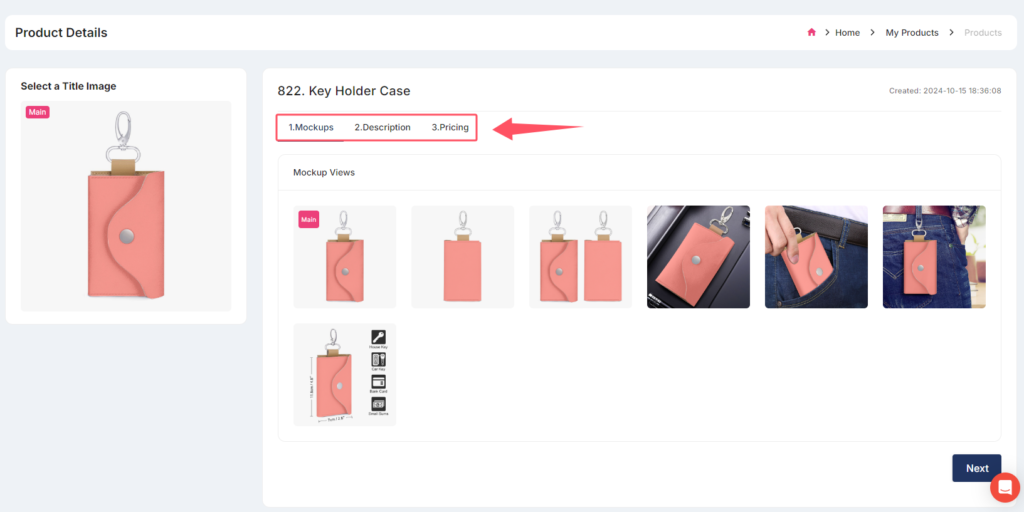
Once the design is complete, click Submit.
You’ll then be directed to a link (edit product information page) where you can edit the product information, including the title, description, price, tags, and more.
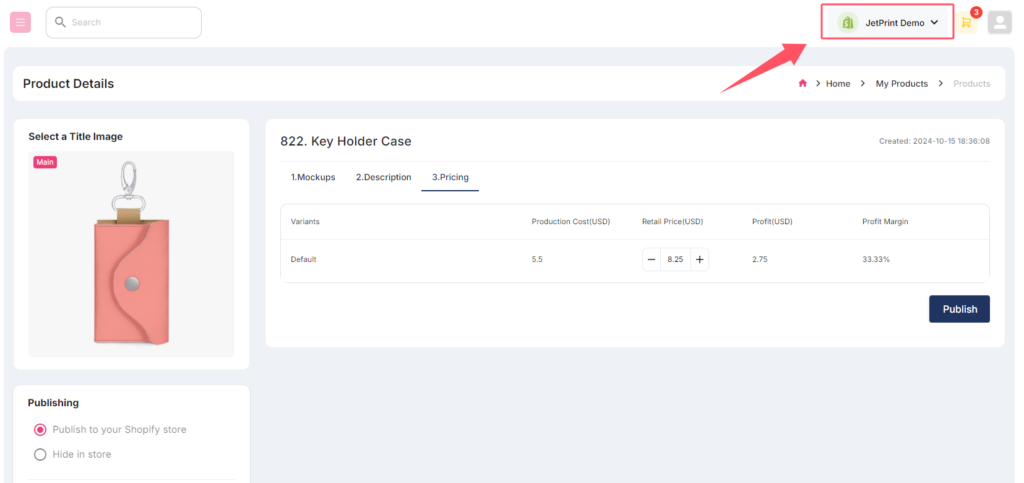
5. Publish your products
After editing the product information, you’ll be able to publish it. In the top menu bar, you can see the store you’ve selected. Make sure to choose the correct store for publishing. If it’s not the target store, switch to the correct one and refresh.
0 Comments