Getting Started with JetPrint
1. Register or log in to your JetPrint account
Once you enter the JetPrint website, click on “Sign Up” in the upper right corner to go to the registration page.
JetPrint website:
https://jetprintapp.com/
https://jetprintapp.com/app
https://dashboard.jetprintapp.com/
First, fill in your First Name and Last Name.
Next, enter your email address—make sure it’s a valid one.
Then, set your password; you can click the eye icon on the right to check your password. After agreeing to the Terms of Service, Privacy Policy, and Return Policy, quickly verify that you’re not a robot and click “Sign Up” to create your JetPrint account. If you already have an account, just click “Sign In” at the bottom to log in page.
2. Understand each menu bar
In the left menu bar, you can access various feature options.
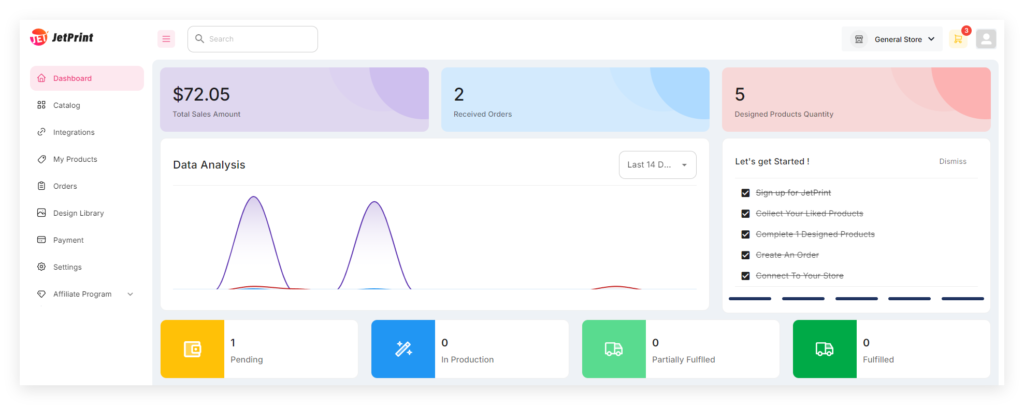
Dashboard
The dashboard shows key data, helping you easily understand the status of your store.
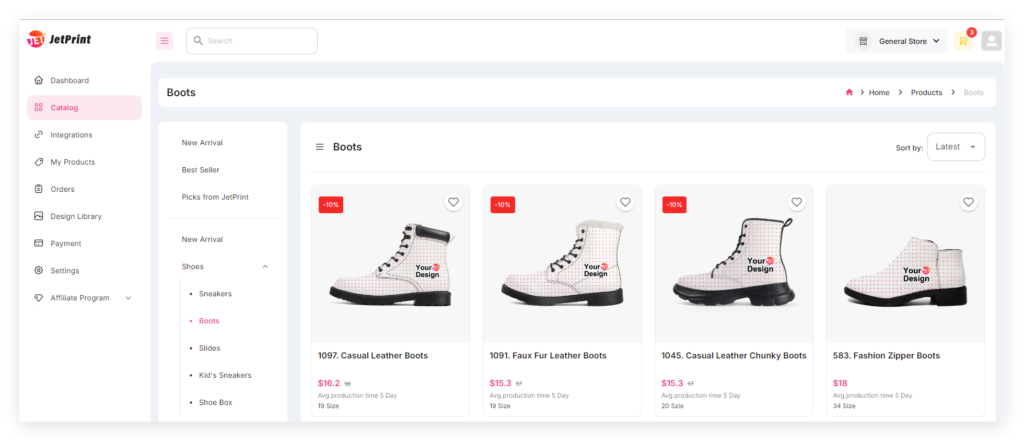
Products
JetPrint offers over 450 products, which you can explore in the Catalog.
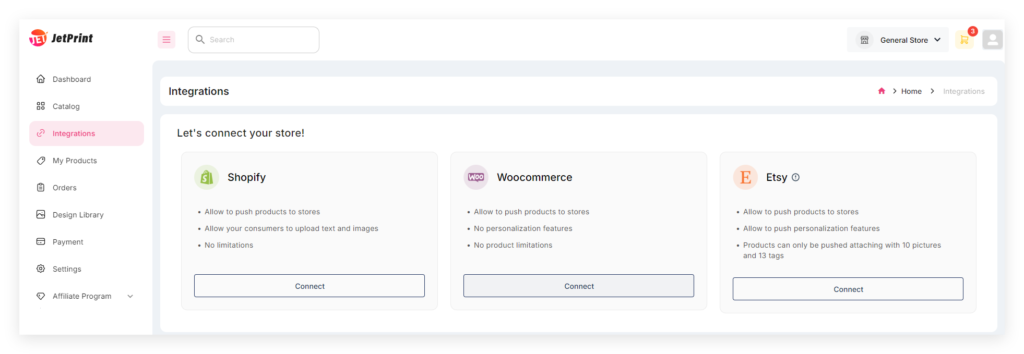
Integrations
On the integration page, you can see that JetPrint has seamless integrations with Shopify, WooCommerce, and Etsy.
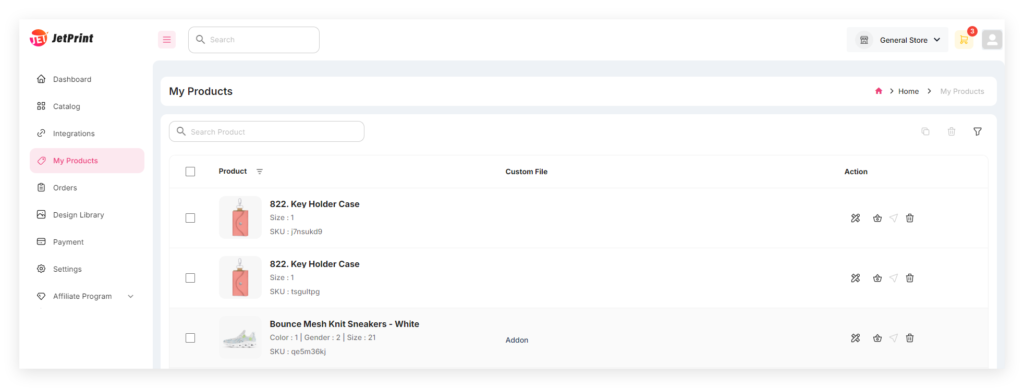
My Products
On the “My Products” page, you can easily manage the products you’ve designed.
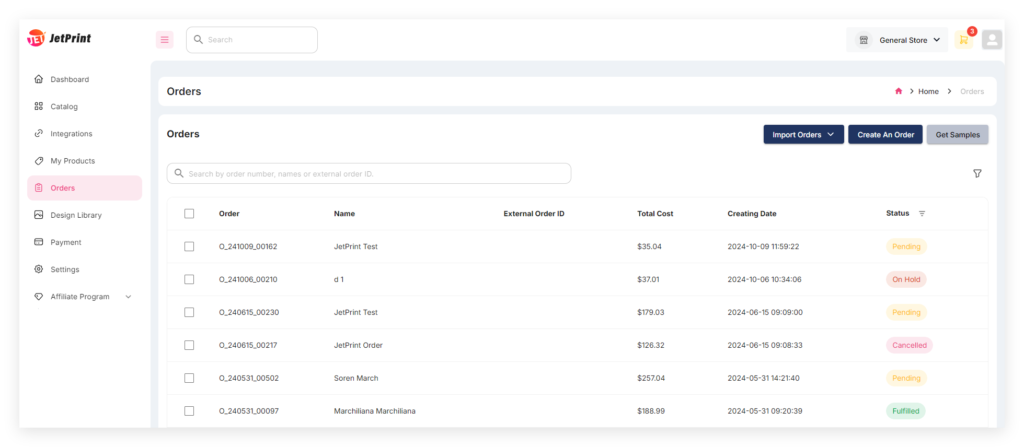
Orders
On the “Orders” page, you can manage your orders.
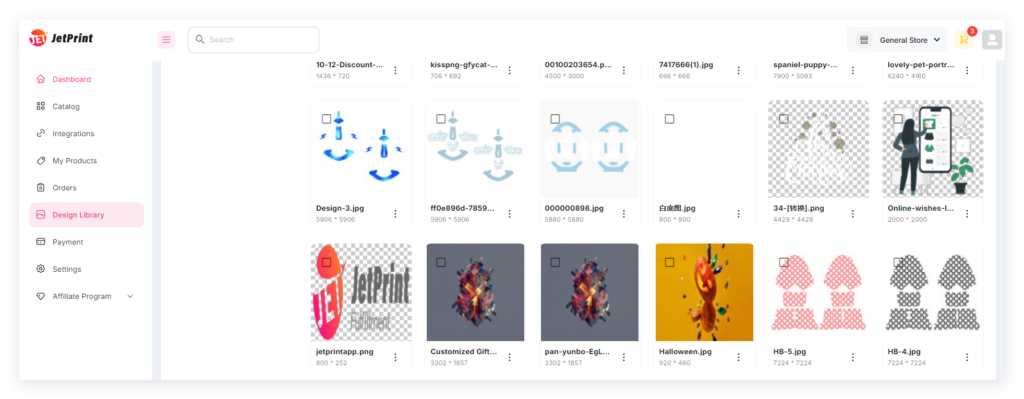
Design Library
Design Library, you can categorize and manage your design images.
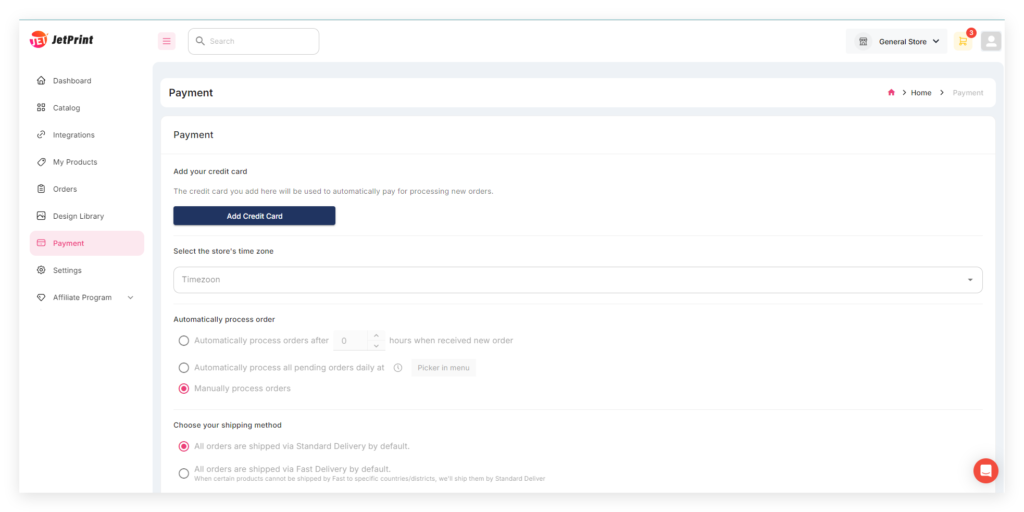
Payment
Payment, you can add your credit card, set your store’s time zone, configure order processing methods, and choose a default shipping option.
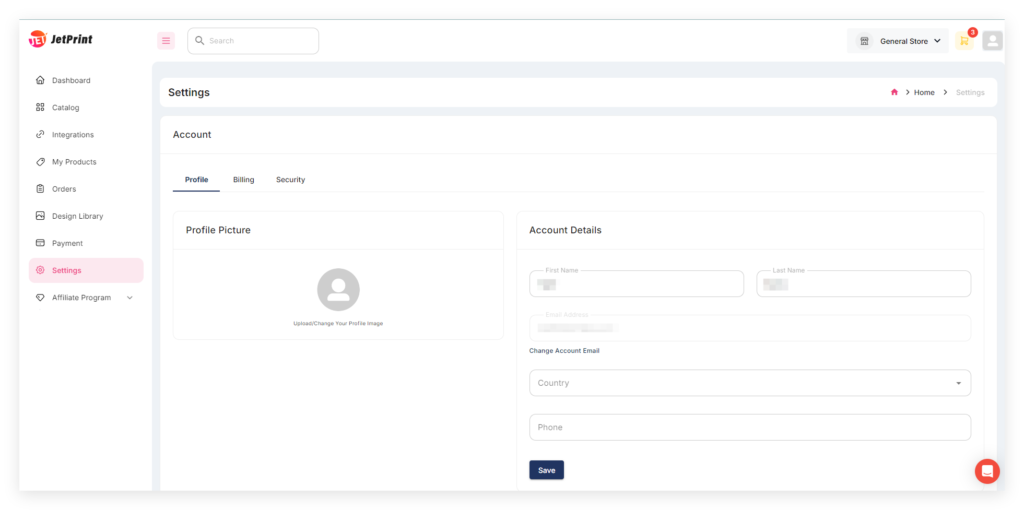
Settings
Settings, you can manage your account.
 More page options will be provided in the future.

0 Comments