How to Sell on WooCommerce
1. Install WooCommerce
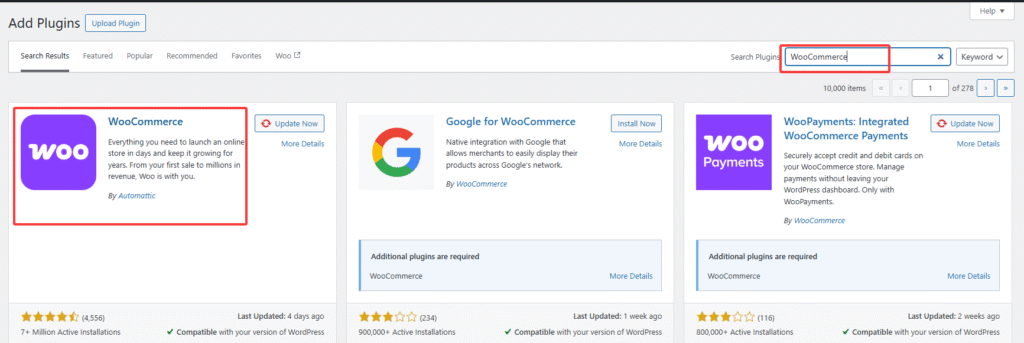
Log in to your WordPress dashboard and navigate to Plugins.
Go to Plugins > Add New, search for “WooCommerce”, and click Install Now.
2. Set up WooCommerce
Once WooCommerce is installed, the setup wizard will guide you through the configuration. You can skip some steps, but essential settings—such as payment methods and shipping options—must be completed.
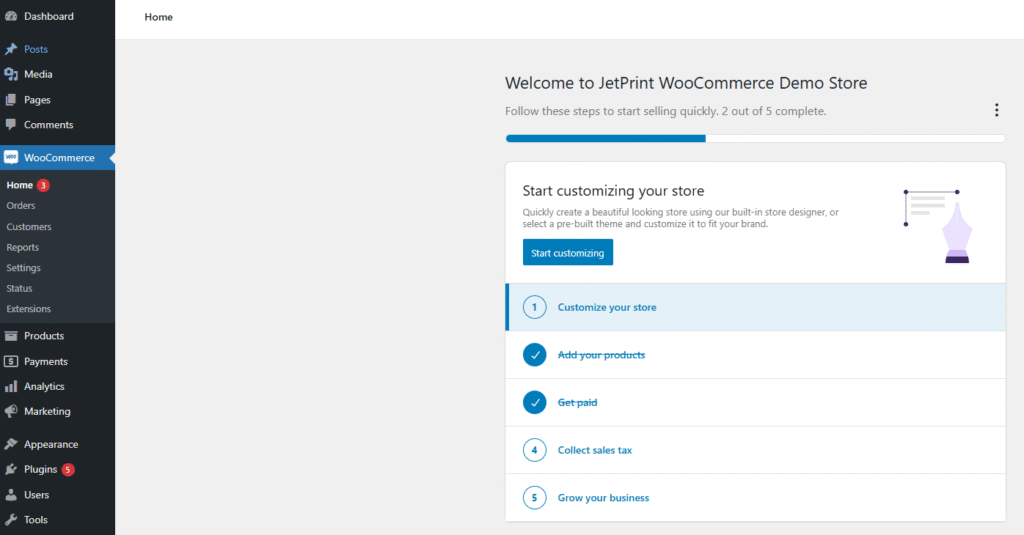
You’ll find these settings under WooCommerce > Settings.

Note: Since JetPrint connects to WooCommerce via API, there is no need to set the shipping location to JetPrint.
3. Integrate with JetPrint
Go to your JetPrint dashboard and follow these steps to connect:
Dashboard >> integrations >> WooCommerce>>Connect

Click “Connect”, and a pop-up will prompt you to enter your WooCommerce store’s website URL.
You can find your website URL in your WordPress admin panel under Settings > General.
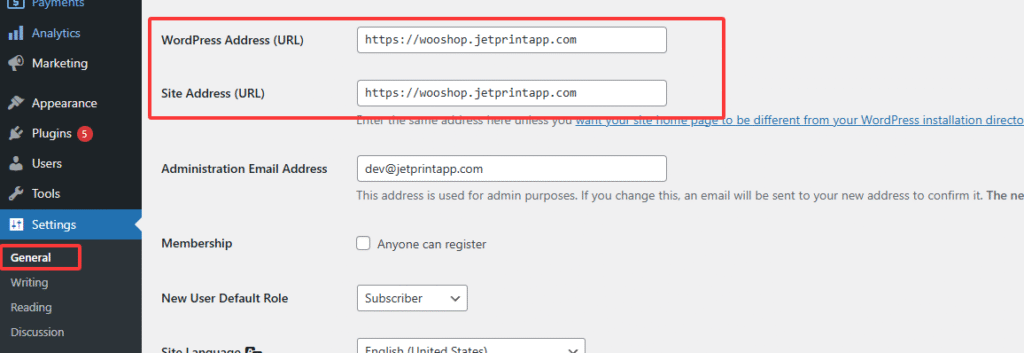
Accepted URL formats include:
- https://www.exampletore.com
- https://examplestore.com
Once integrated, your WooCommerce store will appear on the JetPrint connection page.
4. Design and publish your products
For product design guidance, refer to How to Design Products.
After designing, click the Save button in the top-right corner of the mockup generator. Follow the step-by-step prompts to publish the product to your store.
Note: When setting the price, ensure it’s higher than the base product cost + target market shipping fee (found on the product details page). If you forget to adjust this during sync, you can update it later in your WordPress admin.
0 Comments