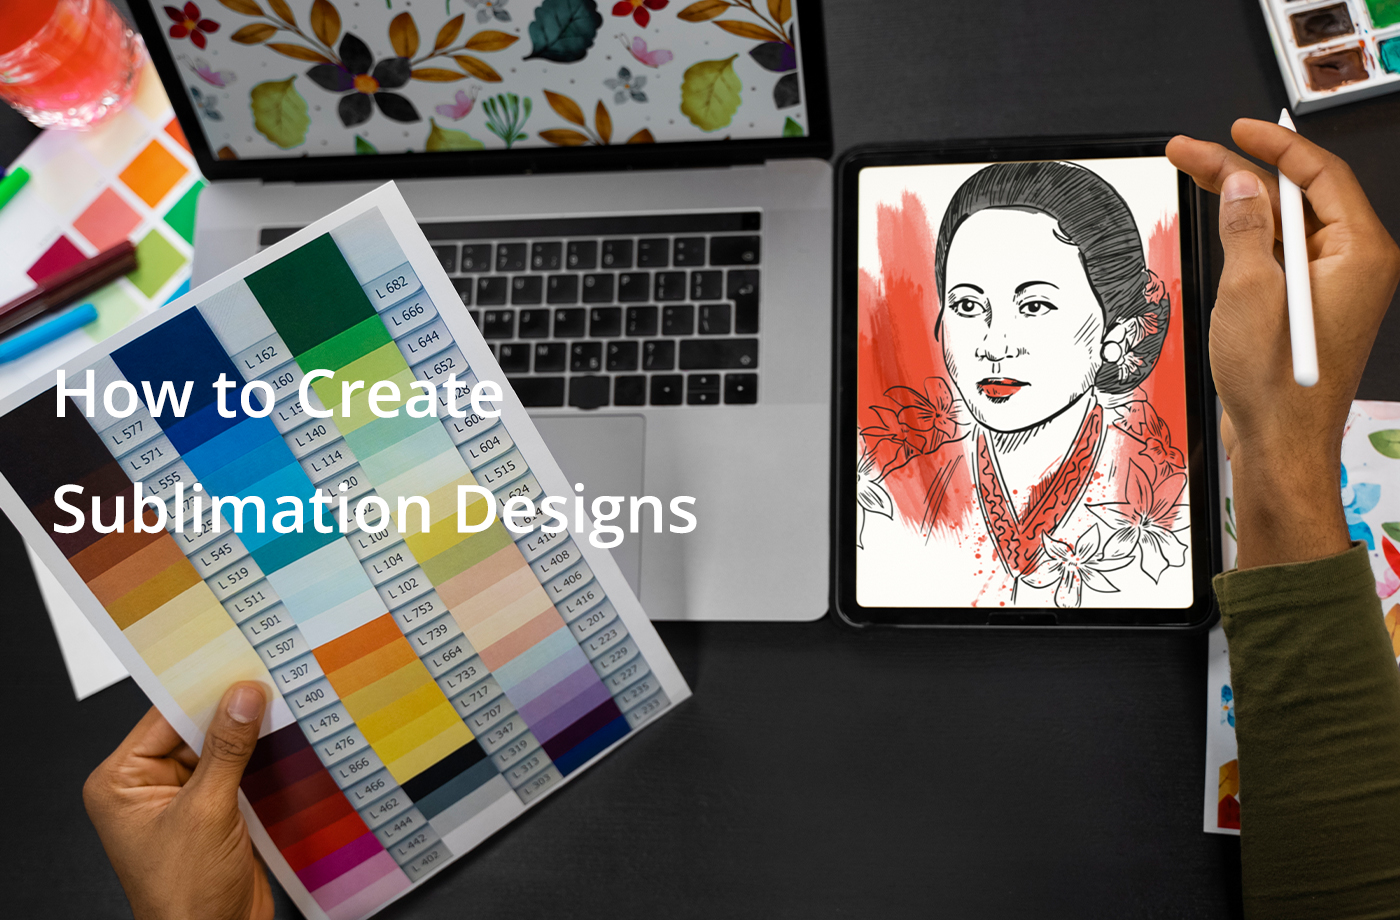
In this comprehensive guide, we’ll walk you through the steps of creating stunning sublimation designs using different tools and methods. From coming up with design ideas to choosing the right design tools, we’ve got everything you need.
Think of your sublimation design
Before delving deep into the design process, it’s essential to brainstorm and generate design ideas. These ideas can be based on popular trends or your personal preferences. It’s crucial to consider the purpose and target audience of the sublimation product, whether you’re creating custom items or personalized gifts.
Related article: How to Create Print-on-Demand Designs When You’re a Beginner
Selecting a Design Tool
This section is the core of the sublimation design journey. We will provide you with a step-by-step guide that covers every aspect of creating outstanding sublimation designs.
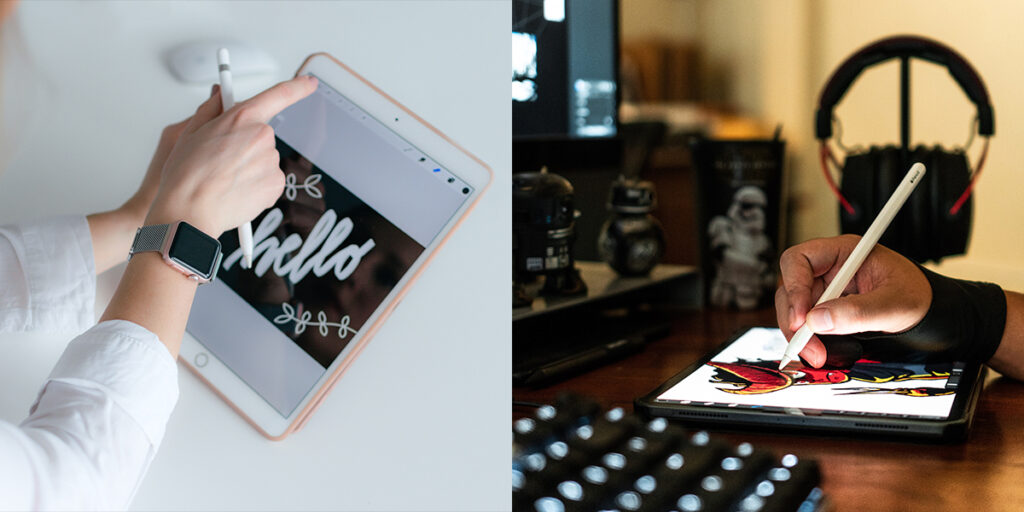
Enhance and personalize your images using the editing features of your chosen software. Get creative and incorporate text or other elements as required. Once you’ve gathered your design ideas, it’s time to select the right tools to bring your vision to life. There are numerous options to consider, but we will focus on two popular ones.
Design Note: Define a safe area in your design to ensure that important elements are not cut off; this is called a ‘bleed line.’ This will ensure that, during the design process, your design extends beyond the edges of the print area to account for any minor misalignment issues during sublimation. Finally, periodically zoom in and check the image for any pixelation or artifacts. Make sure your design is clear and of high quality.
Photoshop

Adobe Photoshop is a versatile and powerful tool for designing sublimation graphics. Its features and functionality make it a top choice for many designers. If you’re already familiar with Photoshop, you can easily create and edit your designs. Additionally, you can use JetPrint’s design templates since it supports importing images in PSD file format.
Before you start designing, make sure your color profile is set to RGB (CMYK will make the image darker). It’s worth mentioning that JetPrint will automatically convert RGB format pictures to CMYK without changing the vividness of the picture. Ensure that your design has a resolution of at least 300 DPI (dots per inch) for high-quality printing.
Related article: RGB vs. CMYK
Canva
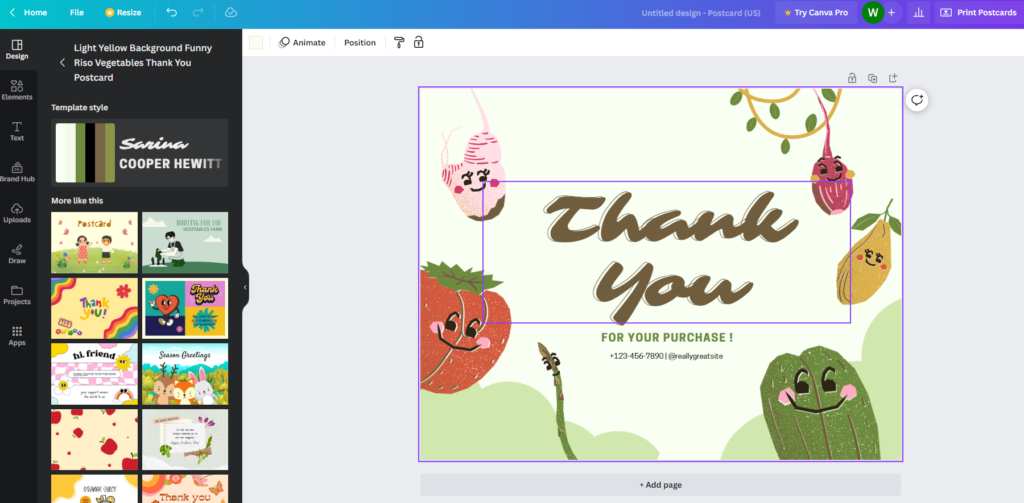
Creating sublimation designs with Canva is a convenient way to create custom designs for a variety of sublimation products such as t-shirts, mugs, phone cases, and more. Canva offers an easy-to-use interface and a variety of design tools and templates.
Sublimation design with Canva is user-friendly and suitable for those with no experience in graphic design software. You can choose from Canva’s pre-made design templates and use Canva’s drag-and-drop interface to create your design. You can add text, images, shapes, and other elements to the canvas. Canva also provides various tools to edit and customize these elements.
Print Products Using JetPrint
JetPrint is a reliable and convenient print on demand platform for creating dye-sublimation products. You can upload your designs to our platform for printing without the need to maintain inventory or invest in a dye-sublimation machine.
View our design guidelines
Before you get started, we recommend reviewing our design guidelines to ensure that your artwork meets our printing standards. You can also download our PSD files to assist you in creating a design that aligns with our specifications.
Upload your design
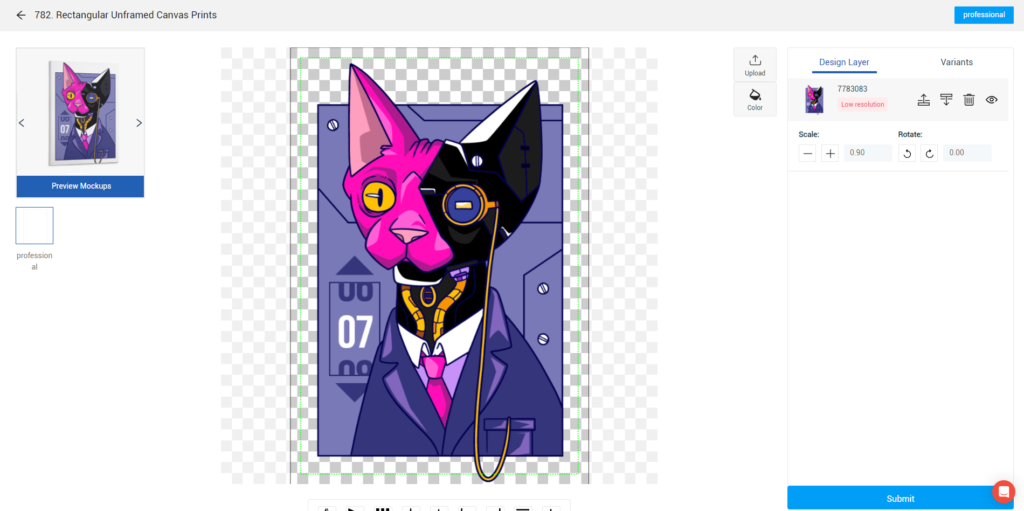
With JetPrint, you have a selection of over 400 products to choose from, ensuring you’ll find the perfect canvas for your design. Once you’ve created your design, it’s time to upload it to the product of your choice. Our platform is user-friendly, making it easy for you to navigate the entire process, and our mockup generator allows you to make basic adjustments to your design.
Order sublimation products
You can place your order directly through our app. Simply select the product attributes you desire, provide your delivery address, and then relax at home without any worries.
Choose to make it yourself
If you prefer a hands-on approach, you can utilize specialized equipment to bring your design to life.
Print your design
Begin by printing your design on special sublimation paper. Ensure that the print quality is excellent, as this will directly impact the final product.
Choose your product
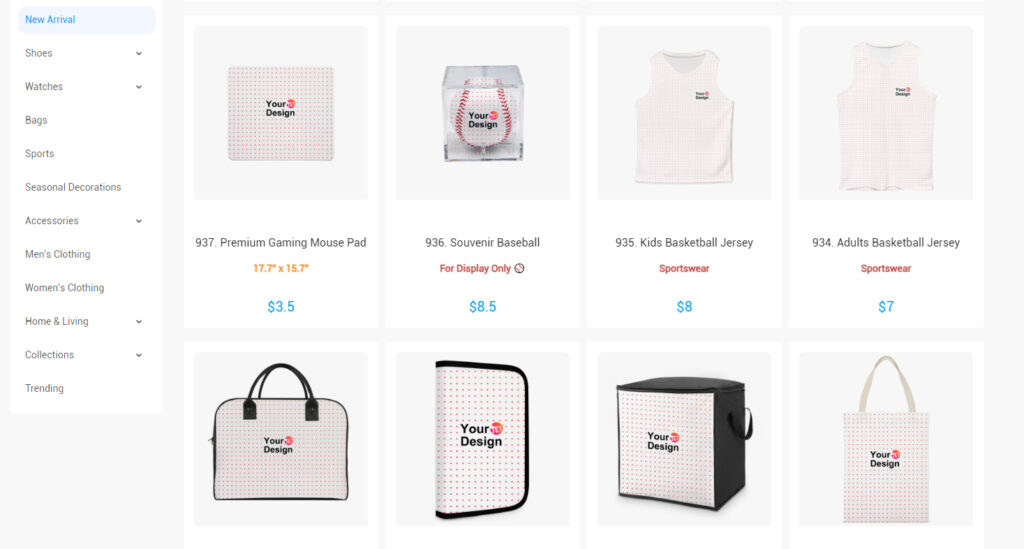
Not all products are suitable for sublimation, so making the right selection is crucial. If you are new to sublimation, we recommend starting with white t-shirts, as they are beginner-friendly and yield great results.
Use a machine
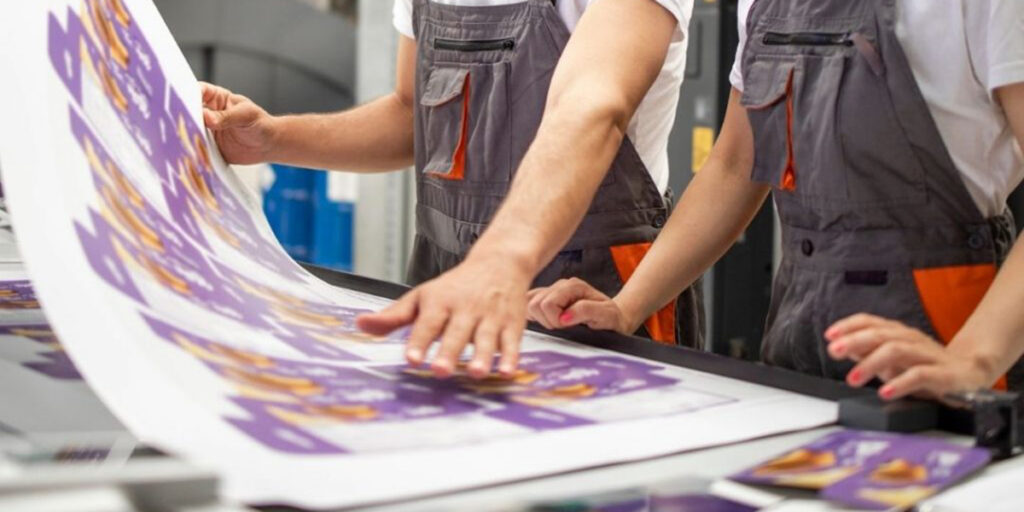
After printing your design on special paper, employ a sublimation machine to transfer the design onto your chosen product. Follow the machine’s instructions and take your time to ensure perfect results. Keep in mind that temperature and time requirements can vary for different products and machines, so consulting experts in the field can help minimize errors.
Related article: Print on Demand vs. Do It Yourself
Conclusion
Creating a sublimation design is a fun and patient process, and successfully applying the design to a product is something to be proud of. With our step-by-step guide, you now have the knowledge to turn your imagination into reality. Remember, sublimation is all about expressing your unique vision, so let your creativity run wild and watch your designs come to life in a vibrant, personalized way.

0 Comments