
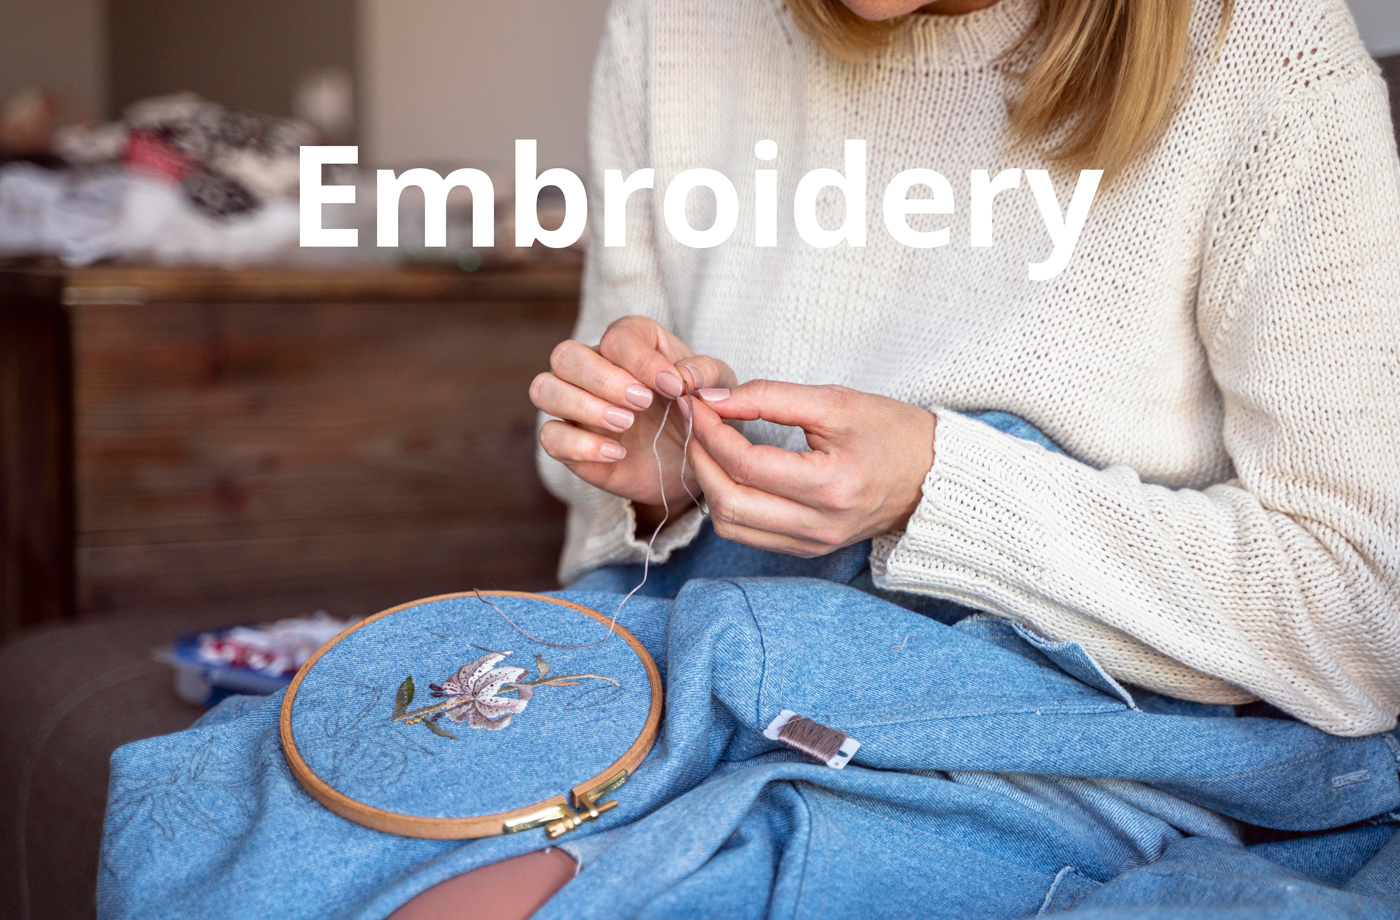
In this blog post, we’ll cover everything you need to know about embroidery and how it can elevate your custom products.
What is embroidery
Embroidery is a craft that involves using needles, thread, or yarn to decorate fabric or other materials.
It can be used to create patterns, images, and text on clothing, accessories, and home décor. While traditionally done by hand, modern technology now uses machines to produce more complex patterns at a faster pace.
The thread used in embroidery can be made from various materials, such as cotton, silk, or metallic thread, offering a wide range of textures and effects.
Hand embroidery vs. machine embroidery
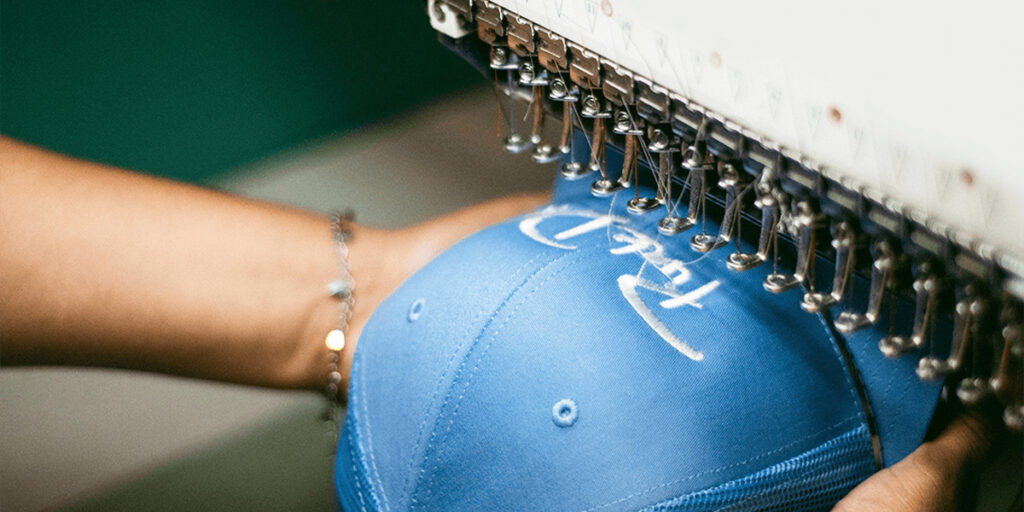
First, let’s break down the differences between the two main methods of embroidery: hand and machine.
Hand embroidery
Slower process: It takes significantly more time to complete a piece.
One-of-a-kind style: Each design has a unique, handmade character.
Low commercial scalability: It is difficult to mass-produce for a large business.
Best for: Personal hobbies, bespoke items, and high-end custom work.
Machine embroidery
Extremely fast: Production speed is incredibly quick.
Consistent and precise: The designs are highly uniform. Typically, a standard machine is set up to produce just one specific style of embroidery at a time.
Highly scalable: It is very easy to expand for commercial business.
Best for: Commercial apparel customization, mass production, and company logo
Essential tools for embroidery
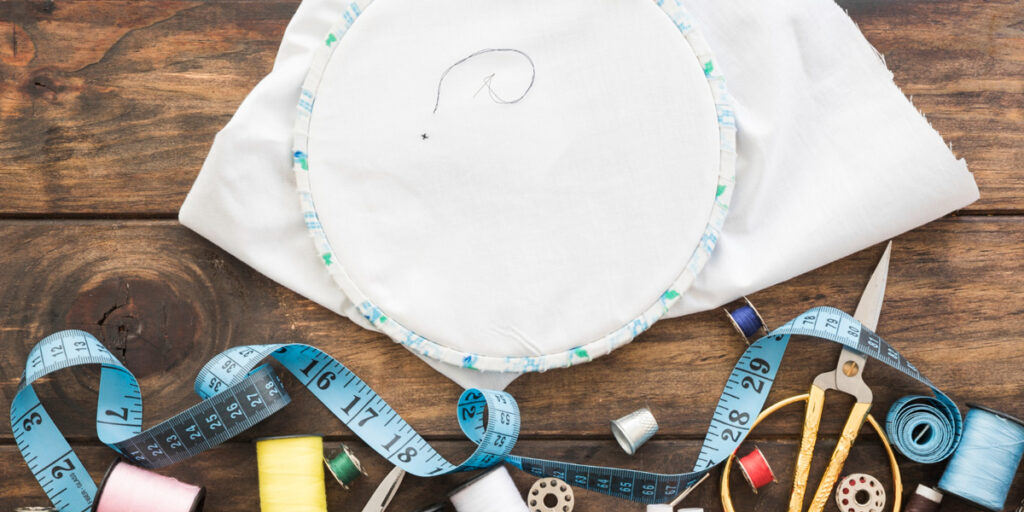
Embroidery requires various tools to achieve professional and precise results. Here’s a list of essential tools for embroidery, whether you’re a beginner or an experienced enthusiast:
1. Embroidery hoops
An embroidery hoop keeps the fabric taut for even stitching. Hoops come in different sizes, materials (such as plastic and wood), and shapes, with round and square being the most common.
2. Embroidery needles
Choose the appropriate needle type and size based on your fabric and thread thickness. Common types include embroidery needles, tapestry needles, and millinery needles.
3. Embroidery thread
High-quality embroidery thread ensures vibrant colors and durability, enhancing the final appearance of your embroidery pattern.
4. Scissors
Sharp scissors allow for precise thread trimming, removing excess fibers, and ensuring a delicate, clean look.
5. Embroidery stabilizer
Stabilizers, typically made of non-woven materials, support stretchy fabrics by preventing wrinkles and holding stitches in place.
6. Water-soluble marking pen or pencil
These tools let you trace designs onto fabric and easily wash out without leaving marks.
7. Thread organizer
Organizers keep thread colors sorted, tangle-free, and easily accessible.
8. Thimble
A thimble prevents needle pricks and helps apply pressure for precise stitching, especially when working with thick fabrics or for long periods.
Types of embroidery
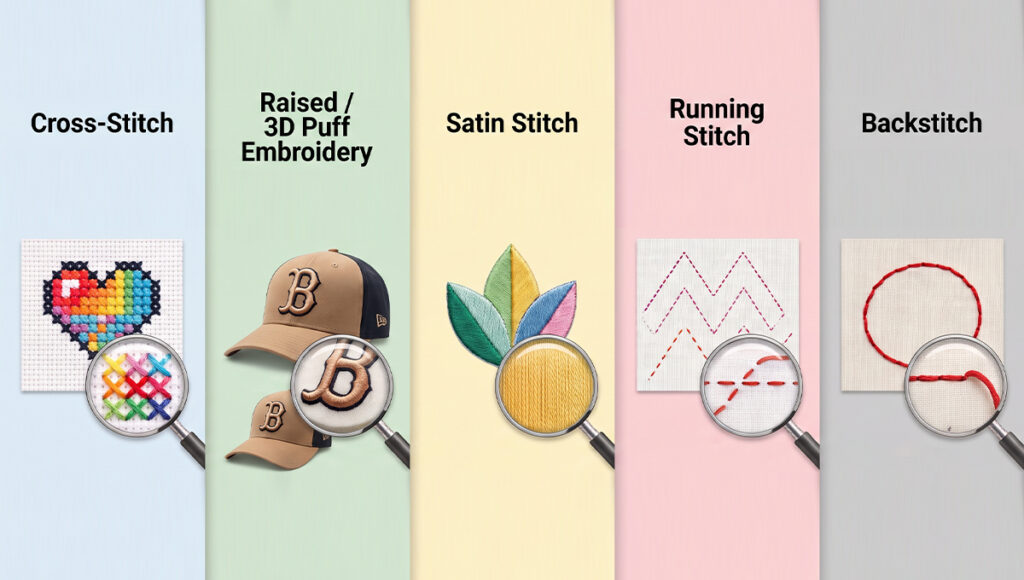
When most people talk about different “types” of embroidery, they’re actually talking about embroidery techniques. Here’s a breakdown of some of the most common ones you’ll see in everyday life.
Cross-stitch: This is usually done on an even-weave, grid-like fabric. You create patterns by stitching tiny, crossed “X” shapes one square at a time. The whole process actually feels a lot like making pixel art.
Raised (or 3D) embroidery: This technique uses special underlays (like foam) or complex knotted stitches to give the design a raised, three-dimensional look. The “3D Puff” embroidery you often see on commercial baseball caps is a perfect example of this.
Satin stitch: The goal of a satin stitch is to completely fill in an area using tightly packed, parallel stitches. When done right, the finished surface looks incredibly smooth and shiny, just like satin.
Running stitch: This is the simplest and oldest embroidery stitch out there. The needle just weaves over and under the fabric, creating a pattern that looks like a dashed line. It’s great for outlining simple shapes, sewing garments together, or building up complex geometric patterns by arranging multiple rows.
Backstitch: If you need a solid, continuous line, the backstitch is your best bet. You bring the needle up a space forward and then stitch backward right into the end of the previous stitch. Since there are no gaps between the stitches, it creates a very tight, crisp line.
How to digitize for embroidery?
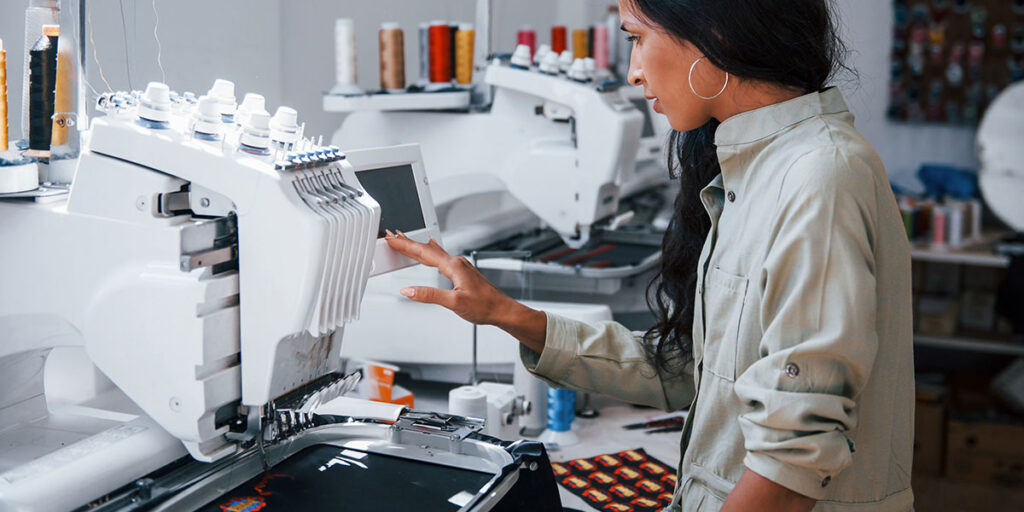
Embroidery digitization is the process of translating a design or artwork into a digital file that an embroidery machine can read and stitch.
Choose professional embroidery digitizing software: Select professional embroidery digitizing software that meets your needs and level of competence. Wilcom and Pulse Ambassador are two common software options.
Import or create designs: You can use digitizing software to import current designs or create new ones. When importing a design file, ensure that it is compatible with the software (popular file types include.AI,.EPS,.SVG, or.JPG). When generating a new design, utilize the software’s drawing or tracing tools to sketch or trace the appropriate artwork.
Setting parameters: Define the parameters of the embroidery pattern. This includes choosing the appropriate fabric type, hoop size, and adjusting the stitch density, underlayment, and tension compensation settings. These options ensure that the design is accurately sewn and positioned.
Outline and basemap: Using the software’s drafting or digitizing tools, digitize the main outline of the design. Add any underlying stitches that are required to offer solidity and support for the final embroidery.
Detailing and fill stitches: Add fill stitches to areas that require solid or textured fills. This can be accomplished by applying the right stitch types (such as satin stitches, fill stitches, or special stitches) to certain regions of the design. Use different stitching types or techniques to incorporate any necessary features or effects.
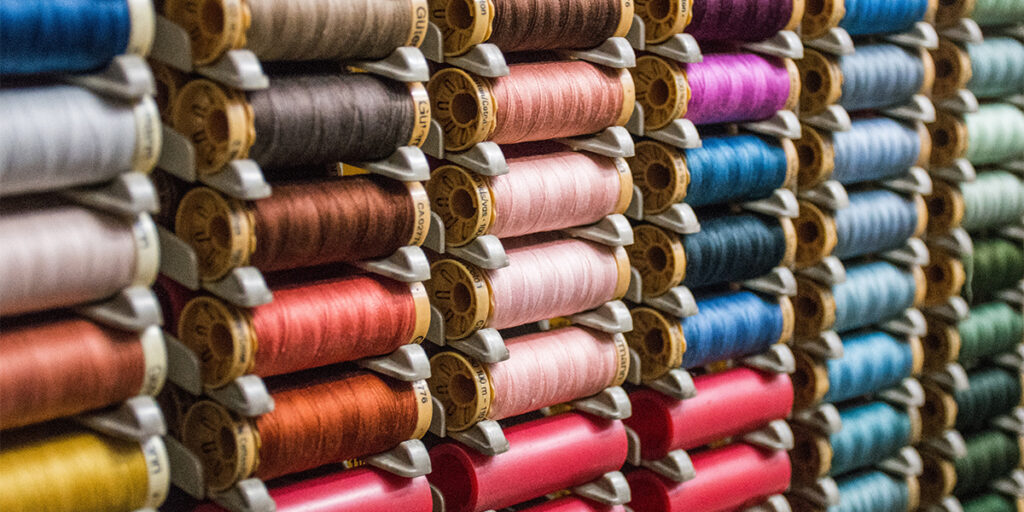
Define color and trims: Assign preferred thread colors to each section of the design. This will give you a visual representation of how the finished needlework will look. If necessary, indicate any trim or thread modifications in the design.
Test and refine: Use the software’s simulation or visualization functions to preview how your patterns will look when stitched before sewing them on actual cloth. Look for any errors, inconsistencies, or areas that need to be adjusted. Make any necessary changes to achieve the desired results.
Save the design: When you’re finished with your digital design, save it in an appropriate embroidery file format like.DST,.PES, or.EMB. Embroidery machines can read these formats.
Transfer designs to embroidery machine: Connect your embroidery machine to your computer and transfer the digitized design file to the machine using the appropriate method (USB, direct cable connection, or network transfer). Load the design and sew it to the fabric according to the machine’s instructions.Digitizing needlework is a difficult technique that takes time and practice. Reference tutorials, internet resources, and professional coaching all aid in the development of high-quality embroidered patterns.
Conclusion
Embroidery has caught people’s hearts and imaginations all across the world. A timeless art form combining talent, creativity, and self-expression. Embroidery continues to captivate and inspire people all across the world, from its rich past to present trends. Whether you are a novice or a seasoned embroiderer, the craft of embroidery provides limitless opportunities for producing beautiful, customized designs.
JetPrint presently enables custom embroidery, please contact our customer service and notify them of your requirements. We are also working hard to develop online design embroidery, and I believe that you will be able to achieve custom embroidery on your products in JetPrint in the near future.
0 Comments